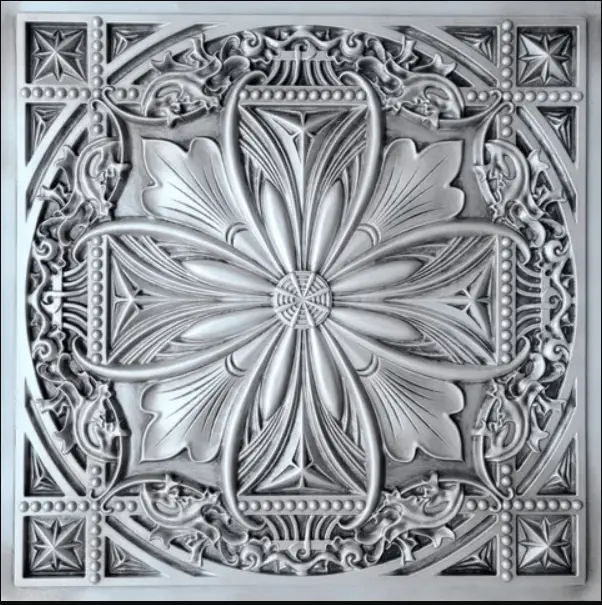
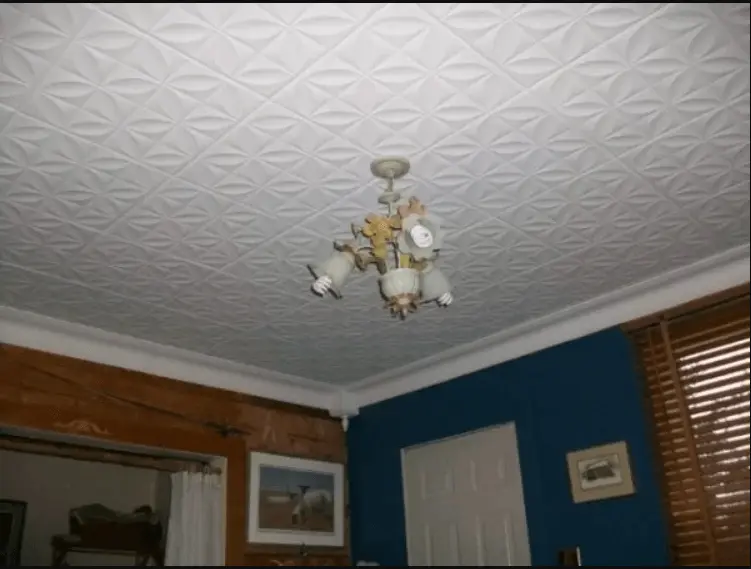
Interior design often overlooks the ceiling as a canvas waiting to be painted. Decorative DIY antique ceiling tiles can add timeless elegance and sophistication to any room. The exquisite tiles not only enhance your space, but also reflect a bygone era of craftsmanship. The purpose of this blog is to explore the world of decorative DIY antique ceiling tiles, uncovering their history, benefits, installation process, and creative ideas for elevating your interior decor.

Source: Talissa Decor
Content
History of Antique Ceiling Tiles
Antique ceiling tiles have a rich history that dates back to the 19th century. Originally crafted from materials like tin, copper, and plaster, these tiles adorned the ceilings of grand buildings, churches, and opulent homes. Their intricate designs and ornate patterns were a symbol of prosperity and architectural elegance. Fast forward to today, and these antique-inspired ceiling tiles are making a resurgence in interior design, offering a perfect blend of nostalgia and modern aesthetics.
Benefits of Using Decorative DIY Antique Ceiling Tiles
- Timeless Elegance: Antique ceiling tiles carry an air of timelessness that effortlessly blends with various design styles, from Victorian to industrial and everything in between.
- Visual Interest: The intricate patterns and delicate details of antique tiles add visual interest to an otherwise plain ceiling, making it a focal point of the room.
- Easy Installation: DIY antique ceiling tiles are designed for straightforward installation, making them accessible even for those with minimal DIY experience.
- Affordable Luxury: Achieve a luxurious look without breaking the bank by opting for affordable faux antique tiles that mimic the appearance of genuine materials.
- Sound Insulation: Many antique tiles offer sound insulation properties, helping to reduce noise levels in your space.

Source: Talissa Decor
Installing Decorative Antique Ceiling Tiles
- Preparation: Measure your ceiling’s dimensions and ensure it’s clean and free from debris. If painting, do so before installing the tiles.
- Adhesive Application: Apply a construction adhesive to the back of each tile. Press the tile firmly onto the ceiling, making sure it’s aligned with your layout plan.
- Cutting Tiles: For edges and corners, you might need to cut tiles to fit. Measure carefully and use tin snips or a utility knife for a precise cut.
- Finishing Touches: Once all tiles are installed, add finishing touches like edge molding to provide a polished look.

Source: Talissa Decor
Creative Ideas for Using Antique Ceiling Tiles
- Bedroom Elegance: Create a dreamy bedroom by installing antique tiles on the ceiling above the bed. This adds a touch of romance and elegance to the space.
- Vintage Kitchen: Transform your kitchen into a vintage haven by applying antique tiles on the ceiling. Pair them with rustic elements for an authentic look.
- Artistic Accents: Use antique tiles to frame a chandelier or pendant light, adding an artistic frame to your lighting fixture.
- Home Office Glamour: Elevate your home office by installing antique tiles on the ceiling. This creates an inspiring environment that boosts productivity.
- Restaurant Ambiance: If you’re a business owner, consider using antique tiles in your restaurant’s ceiling design to evoke a sense of old-world charm and luxury.
DIY ceiling decor tiles offer a beautiful blend of history and creativity, allowing you to transform your space into a captivating work of art. From their rich history to the easy installation process and versatile design possibilities, these tiles provide a unique opportunity to infuse timeless elegance into modern interiors. Whether you’re aiming for a vintage-inspired haven or an opulent escape, antique ceiling tiles are the perfect addition to your design toolkit.

Kurt Avans is a home improvement blogger who strives to improve his life and the lives of others. He provides homeowners with helpful tips on how to renovate their homes. His goal is not only to provide easy-to-follow instructions, but also share his own personal experiences for those seeking guidance.


